
One of the essential exercises in any athlete’s handstand training toolbox should be the handstand wall walk.
First: It’s Simple
There are certainly countless ways to train a handstand, many of which require special equipment or assistance. However, for this exercise all that is needed is a few feet of open space in front of a solid wall (or door). Even matting is optional, but may be recommended if you are a beginner.
Second: It’s Scalable
Regardless of your experience level, this exercise can be incorporated into your training. It can be appropriate for beginners, yet still have value for veteran handstand enthusiasts.
Third: Proprioceptive Training is Included
Proprioception is your ability to perceive your body’s movements relative to your spatial orientation (basically where you are when you are moving). A handstand wall walk is a controlled way to introduce the movement of inverting to a handstand and to train your handstand balance and form in a safe way.
And Fourth: You Can Use it to Build Strength
For an absolute beginner to handstands, balance may not be the only thing to worry about. Simply holding yourself up (without face-planting) may be daunting enough. With handstand wall walks, beginners can build up the strength towards a full handstand, while more experienced athletes can use it to train for press handstand strength, do reps for endurance or simply hang out upside down (yes - your circulatory system needs the practice too with all that blood rushing to your head).
Sold yet? Perfect - now for the “How” of the handstand wall walk.
HANDSTAND WALL WALK
Step 1:

Squat down with your back to a solid wall and place your hands, shoulder width apart, on the ground roughly 2-3 feet away from the wall.
Step 2:
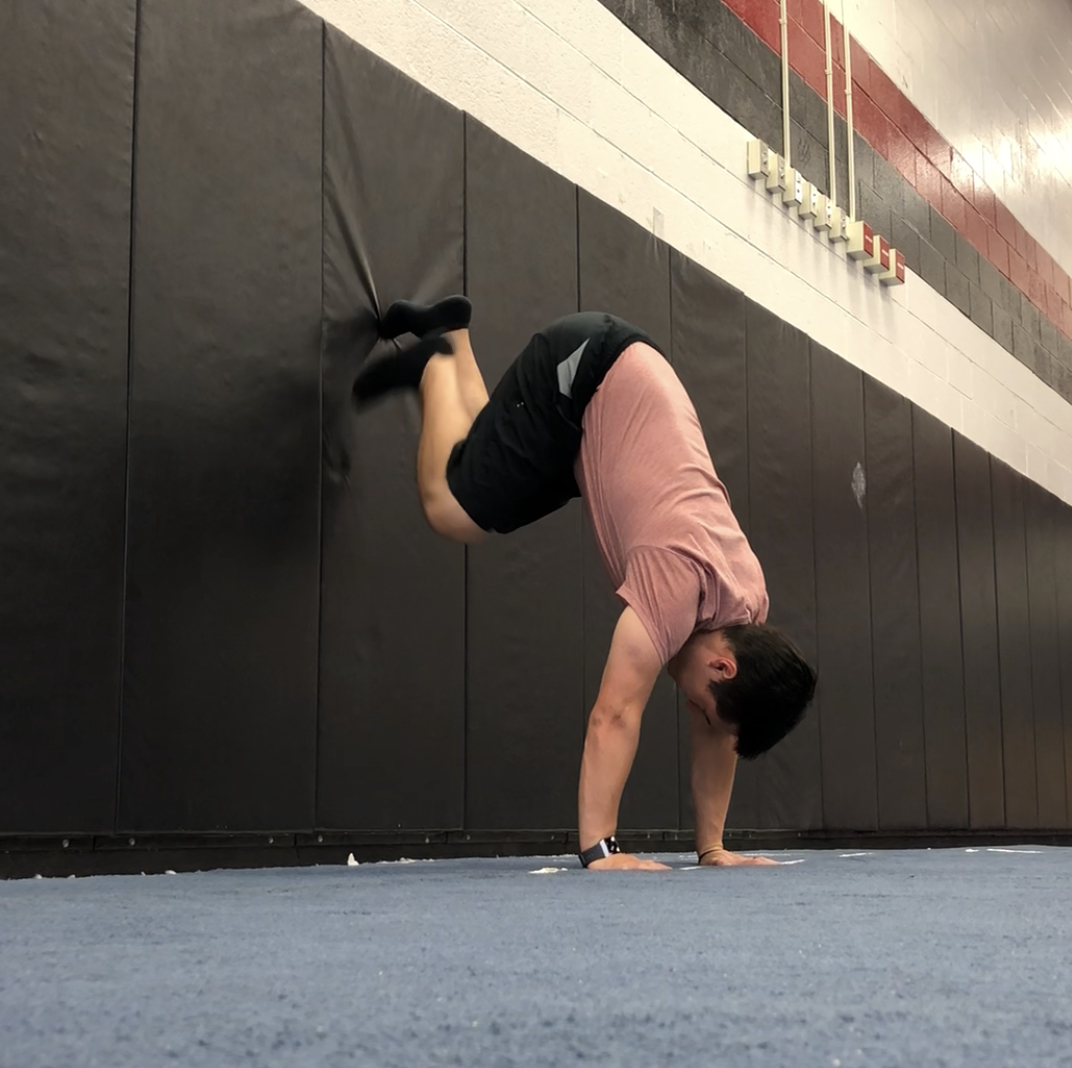
Keeping your hands on the ground, lift your hips up and begin walking your feet up the wall.
Step 3:
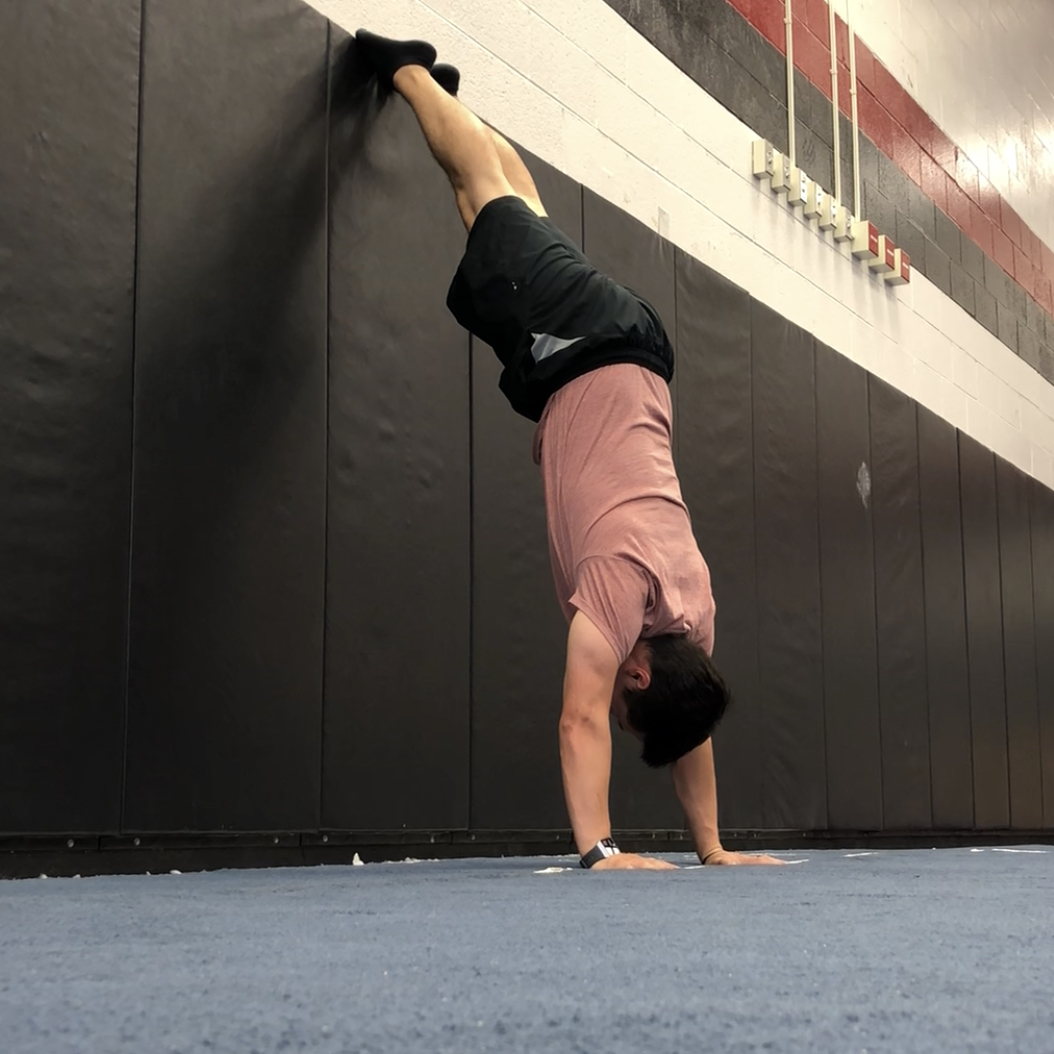
Walk up as high as you can control, then hold:
3-5 seconds for beginners
5-10 seconds for intermediate enthusiasts
10-15 seconds for the more intermediate enthusiasts
Looking more for endurance?
60+ seconds for those advanced individuals seeking to build endurance
Step 4:

Slowly walk your feet back down to the starting position.
Key Points to Remember
- Keep the arms straight throughout.
- Avoid “winging” (aka hanging) on your shoulder blades by engaging the muscles around them and pushing through the arms to the ground.
- Do not allow your lower back to arch. Maintain a neutral or slight posterior pelvic tilt position (think flat back, tummy tight).
- The eccentric component of this exercise (Step 4) has a ton of value. Don’t skip it by just dropping to the floor. Lowering slowly will build your strength more quickly than just dropping down (plus, it'll keep you safer too).
Progressions

- A fully extended handstand at the top of this exercise can be advanced by walking the hands into the wall.
- If you are a beginner, you can start with your hands a little further from the wall. Only walk up as high as you can control, working towards a fully extended position.
- Build strength by relying less on the wall throughout the movement, particularly in the eccentric phase (Step 4).
- For the more advanced, build endurance by performing multiple repetitions. Try walking your feet down to the bottom of the wall, but not touching the floor between each repetition. Or - try taking teenie, tiny steps to put more challenge on the arms.
- Handstand wall walks can be combined with other exercises for increased challenge, including handstand holds, toe marches, handstand shoulder taps, handstand push-ups, etc... (If you'd like to know more about these advanced steps, check back for an upcoming blog post!)